Getting Started with GitLab CI/CD: Your First Pipeline
Continuous Integration and Continuous Deployment (CI/CD) are essential practices in modern software development. GitLab offers a powerful, integrated CI/CD solution that can help streamline your development process. In this guide, we’ll walk through creating your first GitLab CI/CD pipeline.
What is GitLab CI/CD?
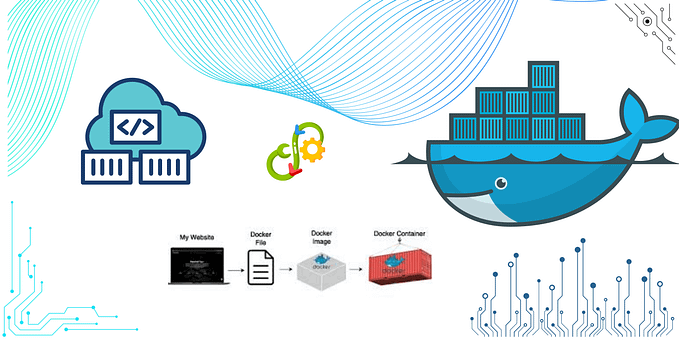
GitLab CI/CD is a tool built into GitLab that allows you to automate your software development workflows. With it, you can automatically build, test, and even deploy your code every time you push changes to your repository.
Prerequisites
Before we begin, make sure you have:
- A GitLab account
- A repository set up in GitLab
- Basic familiarity with YAML syntax
Creating Your First Pipeline
Let’s create a simple pipeline that runs a basic job when you push changes to your repository.
Step 1: Create the .gitlab-ci.yml File
In the root of your repository, create a file named .gitlab-ci.yml. This file will define your CI/CD pipeline.
Step 2: Define a Basic Job
Let’s add a simple job to our pipeline. Open the .gitlab-ci.yml file and add the following content:
hello_world_job:
  script:
    - echo "Hello, World!"
This defines a job named hello_world_job that simply prints "Hello, World!" to the console.
Step 3: Add a Stage
Let’s organize our job into a stage. Modify your .gitlab-ci.yml file to look like this:
stages:
  - greet
hello_world_job:
  stage: greet
  script:
    - echo "Hello, World!"
Now our job is part of the greet stage.
Step 4: Specify When to Run the Pipeline
By default, GitLab will run your pipeline on every push. You can specify this explicitly by adding:
workflow:
  rules:
    - if: $CI_COMMIT_BRANCH
This tells GitLab to run the pipeline for all branches.
Step 5: Commit and Push
Commit the .gitlab-ci.yml file to your repository and push it to GitLab:
git add .gitlab-ci.yml
git commit -m "Add GitLab CI configuration"
git push
Step 6: View Your Pipeline
After pushing, navigate to your project on GitLab and click on “CI/CD” in the left sidebar. You should see your pipeline running!
Understanding the Pipeline
Let’s break down what’s happening:
- When you push changes, GitLab detects the
.gitlab-ci.ymlfile. - GitLab spins up a runner (a machine that executes your jobs).
- The runner executes the
hello_world_jobin thegreetstage. - The job runs the script, which prints “Hello, World!”.
- GitLab reports the status of the job and pipeline.
Expanding Your Pipeline
Now that you have a basic pipeline, you can expand it to do more:
Adding Tests
stages:
  - greet
  - test
hello_world_job:
  stage: greet
  script:
    - echo "Hello, World!"
run_tests:
  stage: test
  script:
    - echo "Running tests..."
    - sleep 5  # Simulate tests running
    - echo "Tests completed successfully!"
Using Different Images
You can specify different Docker images for your jobs:
hello_world_job:
  stage: greet
  image: alpine:latest
  script:
    - echo "Hello from Alpine Linux!"
Best Practices
- Keep it Simple: Start with a simple pipeline and gradually add complexity.
- Use Stages: Organize your jobs into logical stages.
- Fail Fast: Put quick, critical tests early in your pipeline.
- Use Caching: Speed up your pipeline by caching dependencies.
- Secure Secrets: Use GitLab’s CI/CD variables for sensitive information.
Conclusion
Congratulations! You’ve created your first GitLab CI/CD pipeline. This is just the beginning — GitLab CI/CD offers a wealth of features for automating your development workflow, from running tests to deploying applications.As you become more comfortable with GitLab CI/CD, explore more advanced features like:
- Deploying to different environments
- Running parallel jobs
- Using artifacts to pass data between jobs
- Integrating with external tools and services
Remember, the key to effective CI/CD is continuous improvement. Regularly review and refine your pipeline to make your development process as smooth and efficient as possible.
So, whether you’re a tech enthusiast, a professional, or just someone who wants to learn more, I invite you to follow me on this journey. Subscribe to my blog and follow me on social media to stay in the loop and never miss a post.
Together, let’s explore the exciting world of technology and all it offers. I can’t wait to connect with you!”
Connect me on Social Media: https://linktr.ee/mdshamsfiroz
Happy coding! Happy learning!